Professional Ghost Mannequin Tutorial- How to do Neck Join in Photoshop?

This is a ghost mannequin tutorial. It’s another name is invisible mannequin or neck joint service. The flat images of eCommerce product like shirts, sweater, hoodie sweater, T-shirts etc. aren’t looked real. That is why, the product photographers, during taking these images use a doll or mannequin to make a 3D shape which gives a realistic view.
Again, the images with the doll or mannequin cannot be used directly. So, these objects need to be removed from product image to make usable in the business purposes.
However, for neck joint or doll removal service, the graphic designers need two snapshots of the product image such as the front part and the back or inner part. Here, we’ve both the parts in our hands. So, let’s see how to remove the doll from the product image.
Watch the Ghost/Invisible Mannequin/Neck Joint Step by Step Tutorial for Understanding
The step by step Procedure about Photoshop Ghost Mannequin/ Neck Joint Service.
Here, I’ve chosen an image of T-shirt. You can take another image as you need. At first, I’m opening the front part of the T-shirt in Photoshop for clipping path by the Pen tool manually for getting 100% accuracy. From the image I like to remove the doll and the background as well.

Open an image (front part) as you like in Photoshop
Since, I have said I like to clip the image by pen too because the tool is the best for clipping path, so let’s have it from the left toolbar. The icon tool is the head of a pen as it is highlighted in the image below.

Select Pen Tool from the left toolbar
Now, I want to create the path around the image. For accuracy, zoom the image 200% or 300%, according to the image resolution or pixel dimension.

Zoom the image 200% or 300% for accuracy
I’m creating path 1 or 2 pixels inside around the image. There are too many bad wrinkles or scratches and we’re trying to avoid these because full accuracy isn’t possible during clipping path. So, we’ll apply Liquefy or Warp tool later.
Create the Clipping Path 1 or 2 pixels inside from the product edge
I would like to show a complete tutorial and so, I’m spending much time to create the path……..
Ok, I’m about to finish up the ongoing work and now pressing & hold Ctrl, click on the path to select it to change the background and it looks good so far.
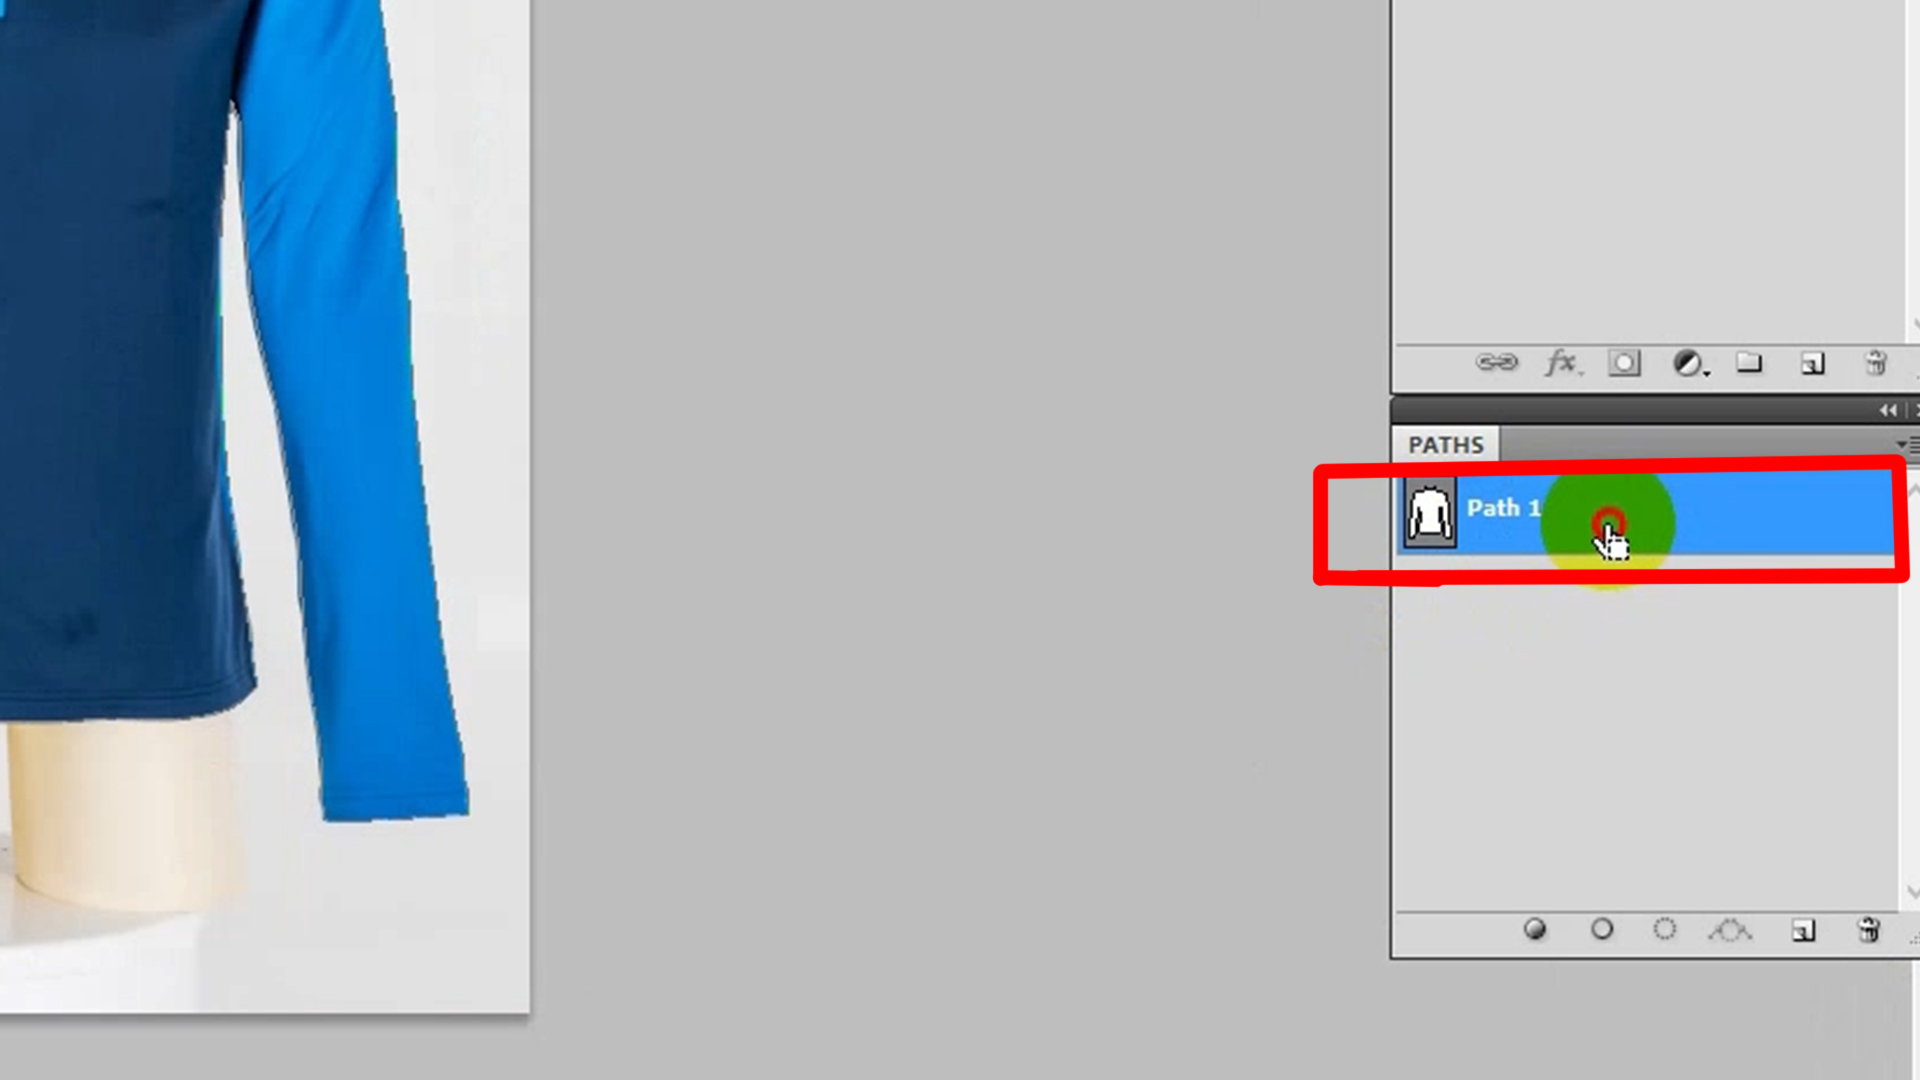
Completing clipping path, press & hold Ctrl and click on the Path layer to select the whole product
Finally, pressing Ctrl + J, duplicate the layer and make invisible the background closing the layer eye ball.

Press Ctrl + J to duplicate the layer
The clipping path of the front part is completed. Now, this is the time for the back or inner part. Open it in Photoshop.

Open the back or inner part and select the area and paste into the 2nd layer in order to create the neck part.
Take it as a 2nd layer as the front part is in the 1st layer. Press Ctrl + T to select the 2nd layer and make small as needs.
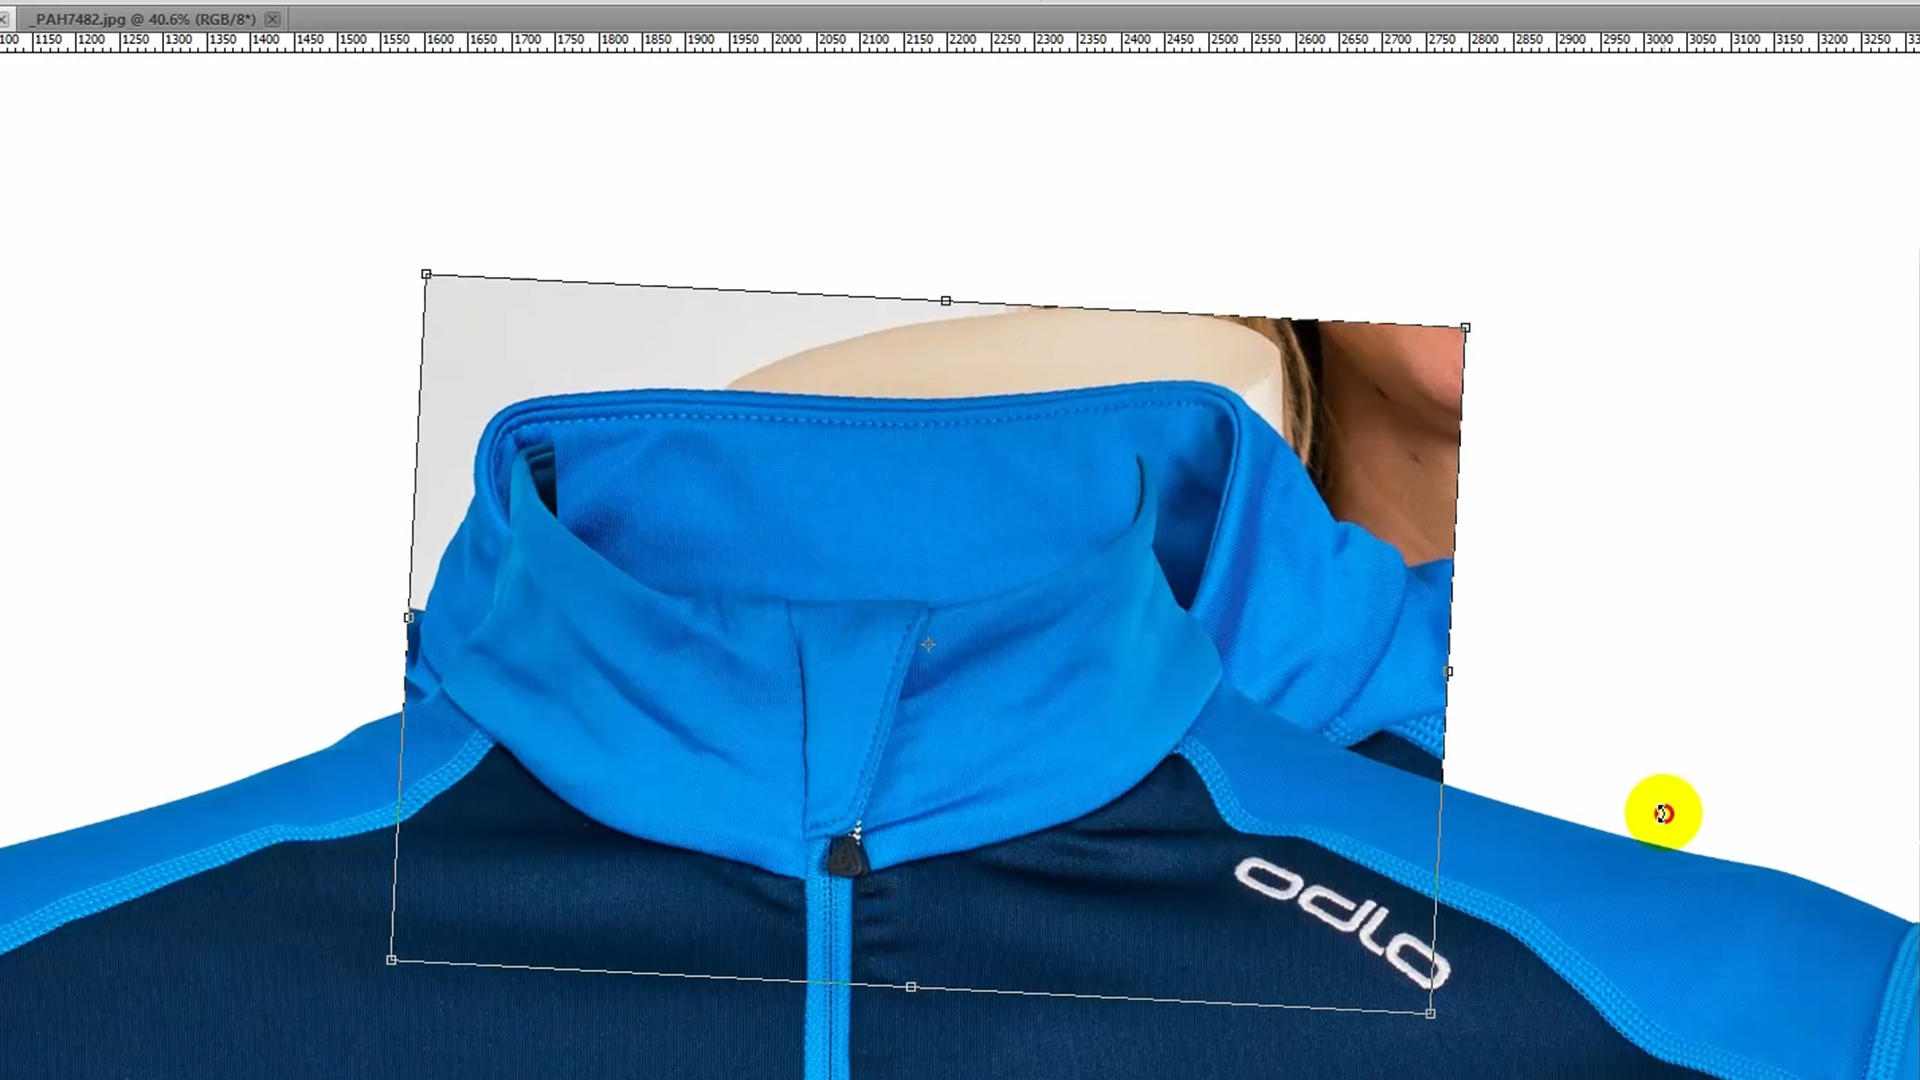
Press Ctrl + T to select the 2nd layer & make it small as needs
Then select the Warp Tool for adjusting with the front part. This tool will help you to resize, rotate, adjust, make zigzag etc. as like the Liquefy tool. You’ll get the tool top of the image. See the image highlighted.

Select the Warp Tool for fitting with the front part.
For alignment, we’re using the Liquefy tool from the top Filter option of Photoshop. At the time of taking the photograph, accurate alignment isn’t possible always.
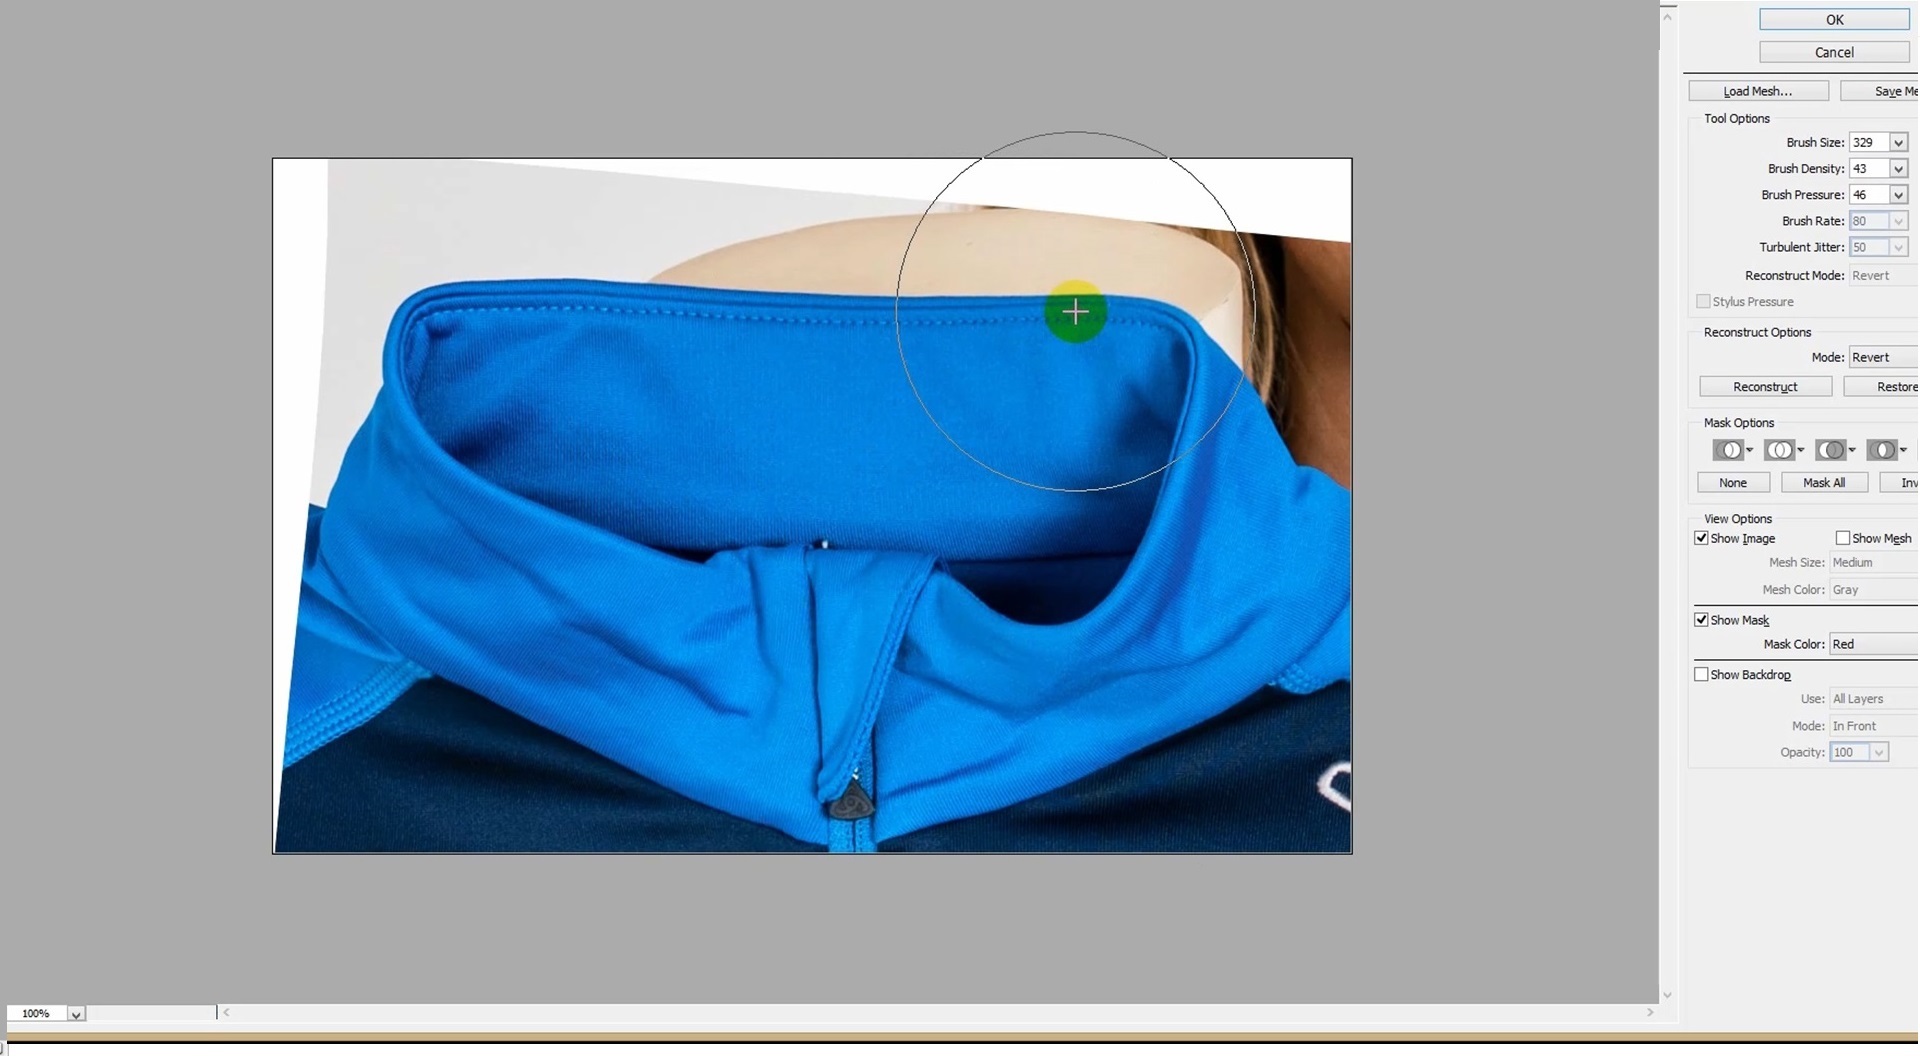
Use the Liquify tool from the top Filter option for proper alignment
Using the Eraser Tool, I’m removing the hard shadow from the joint area to bring soft shadow. We’ll also fix the corner area by Liquefy.

Use the Eraser Tool to remove the hard shadows from the corner area for more realistic
As these two parts are taken from the different perspectives, there is an imbalance regarding color. So, let’s fix the color balance by Selective color from Adjustment layer as the image demands.

Fix the color by Selective color from the Adjustment layer to match the inner and front part.
I’m using the Smudge tool and Warp tool for more perfection at the corner.

Use the Smudge Tool and Warp tool
Now, include the back part with the overall clipping path by pen tool to make one path with the two images.

Include the back part with the overall clipping path by pen tool
Add shadow in the 3rd layer from the down to upright by Gradient Tool where the mannequin was to bring a natural look. The shadow may be light or deep and fix it by handling Opacity.

Add shadow in the 3nd layer from the down to upright by Gradient Tool
Here, if you like to make the deep shadow light, just change the opacity to match with the perspective.
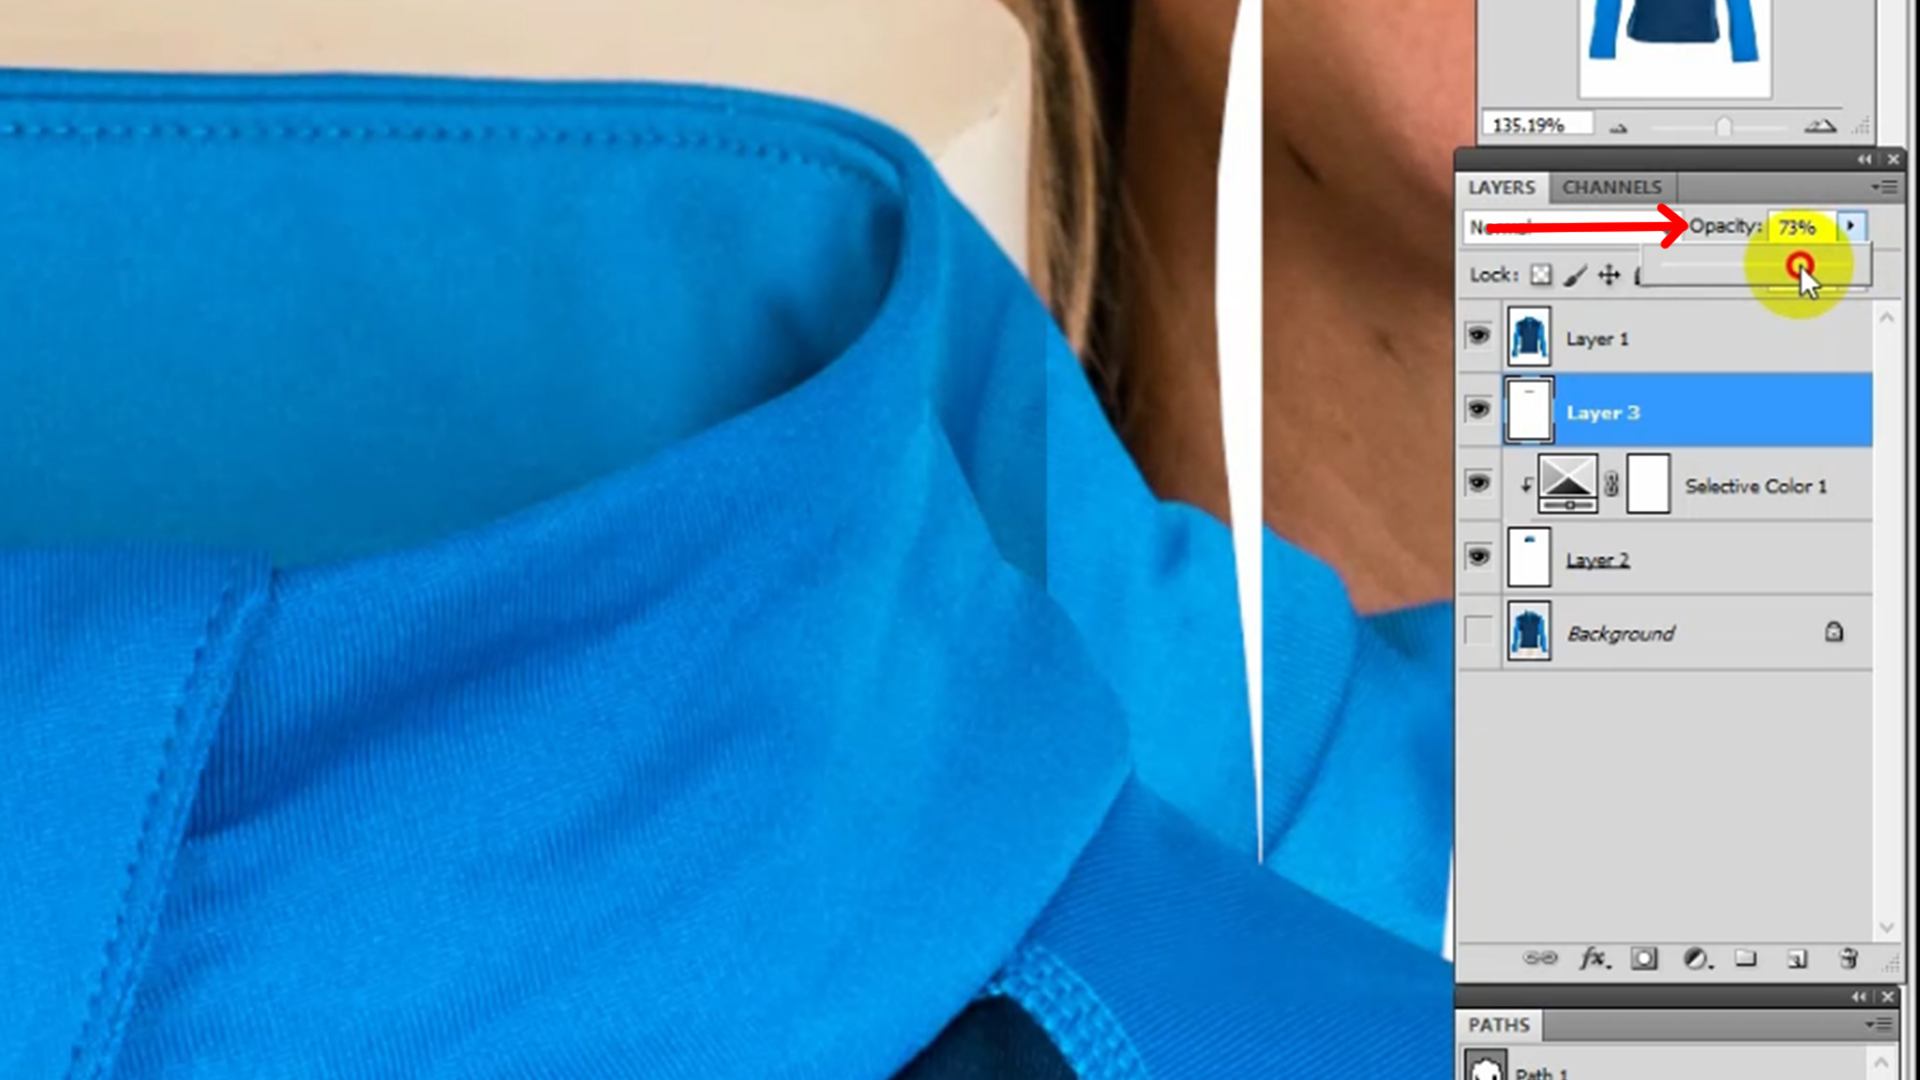
In case of light or deep shadow, increase or decrease the Opacity
The image needs small retouching work and so, I’m taking a new layer under the 1st layer

Take a new layer under the 1st layer to retouch the image
I’m removing the hard shadow using the Clone Stamp tool, Healing Brush tool and Eraser Tool to bring soft shadow maintaining texture. Normally, the designers like Clone or Healing tool to do this.

Retouch the image by Healing Brush/Clone stamp tool depending on the image
Now, this is the time for reducing the bad wrinkles which the Photographer cannot fix but the designers can solve this problem maintaining full texture automatically by Healing Brush in Photoshop.
But, we should not remove all the wrinkles or foldings to keep natural looking, if we do so it would be looked like plastic. Be careful of the point.

Maintain surface shadow and texture during removing the bad wrinkles
During retouching work, spend much time to bring the perfection. Apply Liquefy tool to soften the image rough and zigzag edge.
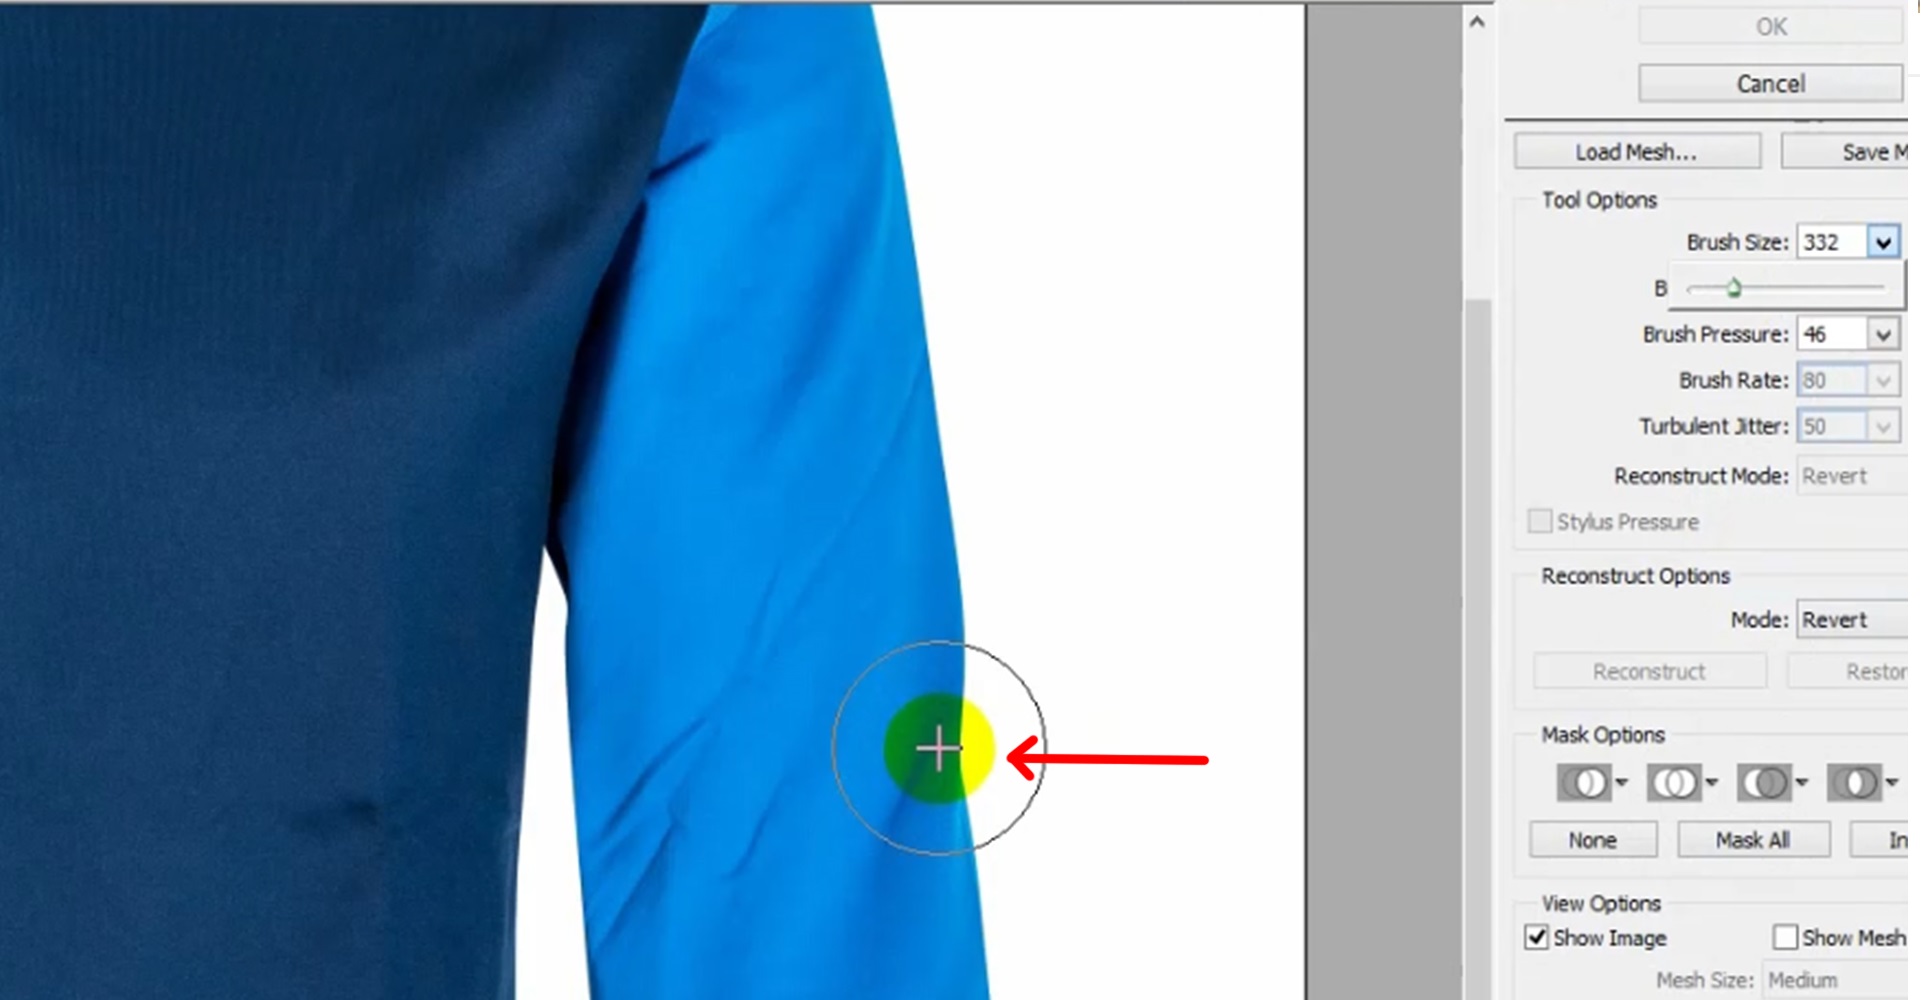
Apply Liquefy tool to straighten the image rough and zigzag edge.
Now, make alignment the sleeves by Selection tool.

Make alignment the sleeves by Selection tool
As we’ve used Liquefy tool, so readjust the path which will be needed later to select or to change color.

Readjust the path by Direct Selection Tool
Finally, select the extra background area by Inversing, press the delete button to remove it

Remove the extra background by Inversing
Now, it is about to complete. So, check applying different color backgrounds, whether it is perfect or not.

Check applying different color backgrounds, whether it is perfect or not
However, it looks perfect so far. Select the crop tool and setup the pixel dimension (1000px * 1000px).
Select Crop tool and Setup the pixel Dimention
However, it looks perfect so far. Now, take the guide or ruler, resize, make a square shape & save it in the JPEG format for using in the eCommerce site or other purposes.

Finally resize, make a square shape & save it in the JPEG format for using in the eCommerce site or other purposes.
Ok, that’s all about this tutorial. Thank you so much for your patience reading. Just, Stay with us for another tutorial.
