To create a Photoshop image we have to open to make an image. So open the Adobe Photoshop. Create a document size with 1200 x 600 and save it as a .PSD file. It will be in RGB mode and 72 Dpi. Open a brick wall texture in the Photoshop. Through transform (Ctrl+T) change the texture and resize as you want. Make it darker by go to levels > Image > Adjustments > Levels or Command/Ctrl+L.
The figure is:
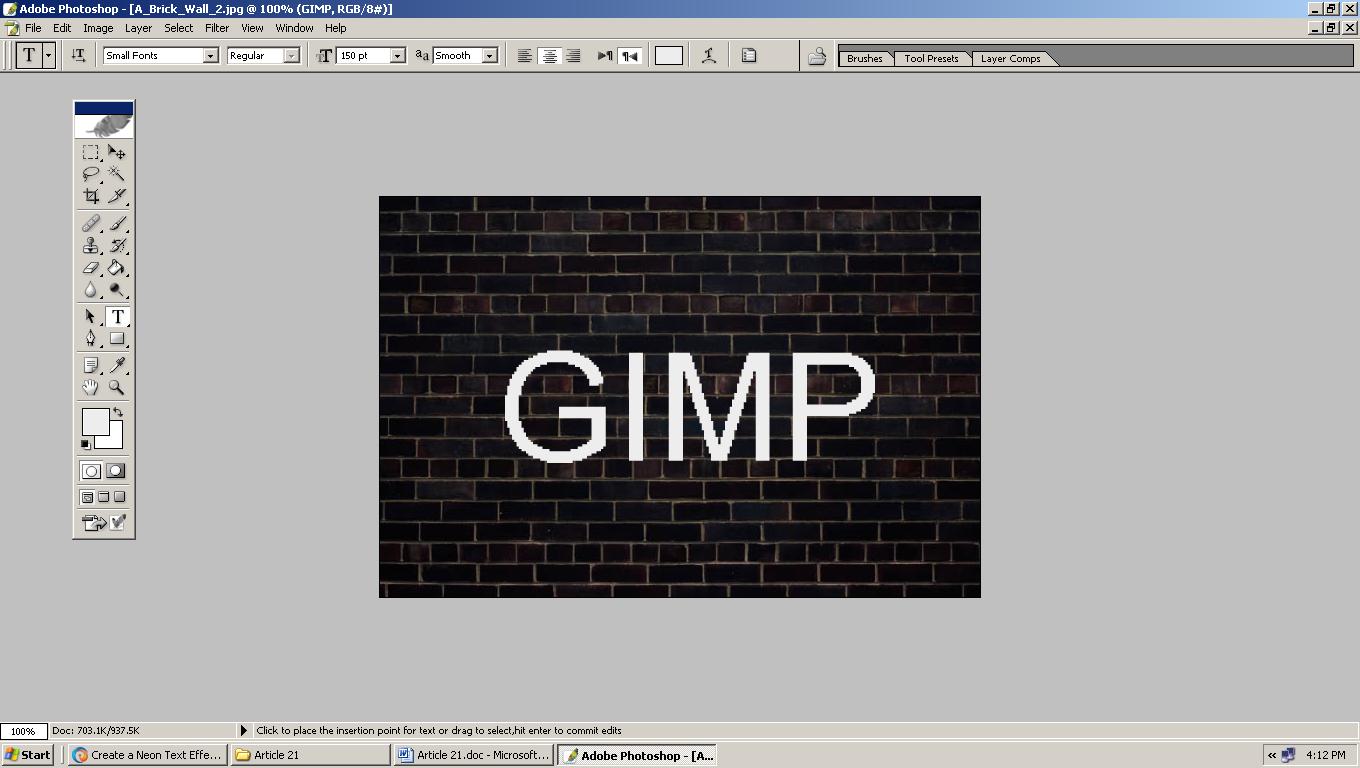
Make the text with the font “Impact”. Character set by 320pt, (Auto), 80% and 150%. And layer Opacity – 100% with Fill – 100%. The figure is given below:
Here I will apply a few layer styles. To open Layer Styles double Click on the text layer and elect Stroke. In stroke set structure with size 18%, position at outside, opacity 100%. And the color will be #0f140d. To confirm it press OK. Then set the drop shadow. The Structure and Quality 0f drop shadow settings given below:
Structure: Set Blend Mode to Multiply, Opacity – 100%, Angle – 120 degree (Use Global Light), color at black, Distance 15px, Spread 55%, Size at 24px.
Quality: Noise – 0% and Layer Knock Out Drop Shadow.
In this step we will make the neon effect on the text of GIMP. For this reason copy the text layer. By right click on the text layer select the “Duplicate Layer”. By right click on the layer select the “Clear Layer Styles”, to remove the layer styles in this layer. Set like below in this step.
Stroke: In structure set size 10px, position set in the canter, Blend Mode set at Normal and Opacity at 100%. Fill Type Color set the Black and click on OK.
Select Create Layer through right click on “fx” of this text layer. Now make the layer styles of these GIMP texts. Set like below:
Drop Shadow:
And press OK to confirm it.
Inner Glow:
Outer Glow:
Now press OK to confirm it. Don’t forget, otherwise everything may damaged.
Bevel and Emboss:
Satin:
Color Overlay:
For a realistic look erase some of the parts of image by select the “Eraser Tool” (e). It can also draw with a hard Brush.
The final Image is given Below:
Neon Effect in Photoshop
This website uses cookies.