How to Create Gold Effect with Sparkling Diamond
In this tutorial I will show how we can create Gold Effect with Sparkling Diamond in the Photoshop. Hope everybody can enjoy this tutorial. Let’s start now.
In the first step we have to open the Adobe Photoshop and open a new file. We know that in the Photoshop the file type is PSD. The created new file size will be 1152 x 864 pixels. Set the foreground and background color black as the color #151515 and #070707. Form the option bar pick Gradient Tool and click on the Radial Gradient icon.
 Now to create a diamond effects first choose a shape from toolbar. I prefer the circle. But you can choose the polygon. Set the number of sides at 7. Here set the color of foreground at black. And save the document for these settings, just close for this moment.
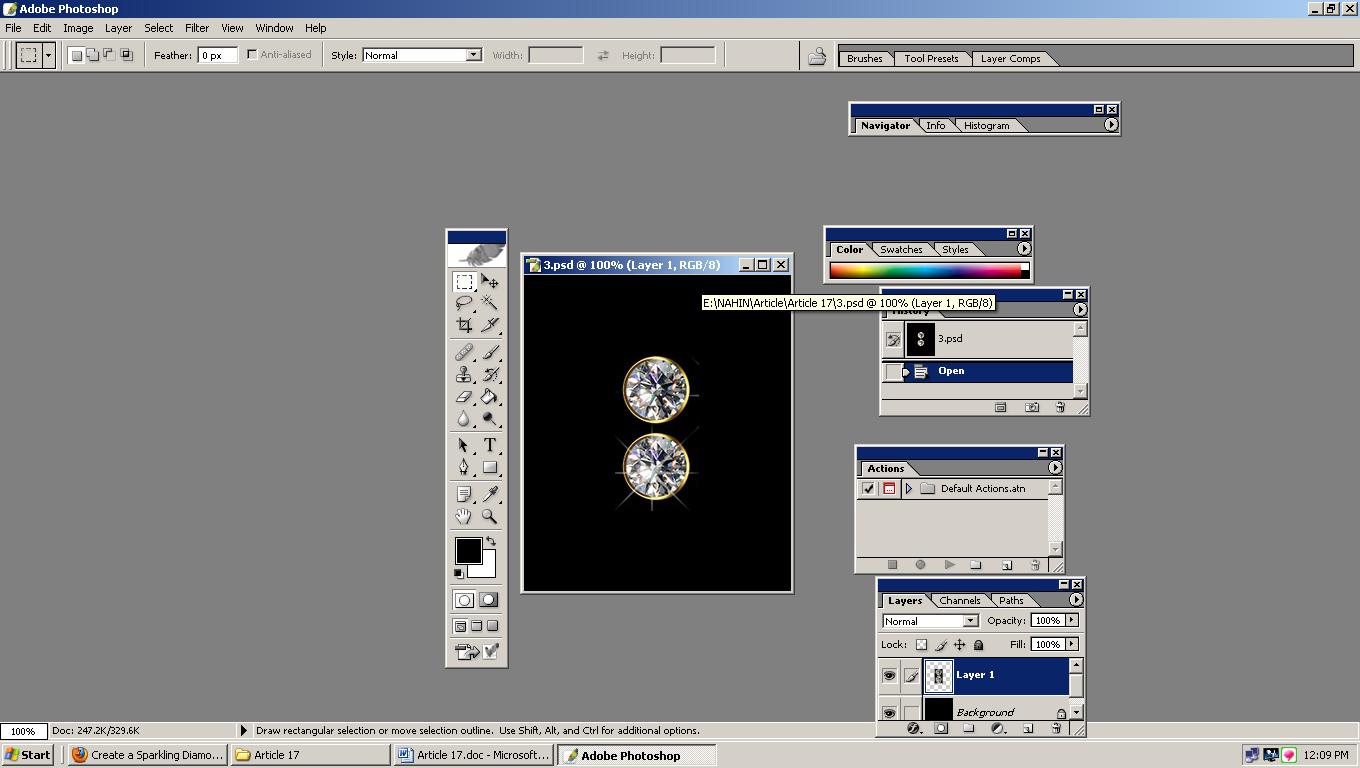
Now create a new document. By go to the Filter – Filter Forge – Filter Forge 3 open Filter Forge. Below Stone, select the Crystal filter, and then choose the last preset to be had in the Presets tab.
Check the “Seamless Tiling” box go to setting Tab and to apply this press the apply button.
After to get the texture go to the Image – Adjustments – Desaturate. Now go to Edit – Define Pattern. Now type name Crystal Pattern. Close this document and go back the original document. Now apply some Layer Styles.
In this Layer set now Bevel and Emboss. The technique change to Chisel Soft, Gloss Contour to Rolling Slope at descending mode, change the highlight to vivid light, check the anti aliased box with the opacity to 60% and change the shadow mode to #656565 with its opacity to 20%. In the Contour mode check the anti aliased box.
 In pattern overlay blend mode save as soft mode. Change the scale to 25% for the Crystal Pattern.
Now set the diamond layer make it more realistic, making look shiner.
Now set the Layer style. For bevel and emboss set style at Stroke Emboss, where desires Stroke effects to work, here I will add Technique Later. Now modify to Chisel Hard with size to 23, check the Anti-aliased box and loss Contour to Ring also modify the Highlight Mode to Vivid Light with its color to #fffcf4. Choose Cove – Shallow for Contour, and then check the Anti-aliased box.
For setting of Stroke I will use the color #a18f53 and change the Size to 15. In the Inner Shadow set the distance to 3 and modify the color to #78614b.
By these settings I will get the top part of the golden stroke.
Now I will set Inner Glow. Transform Blend Mode to multiply through the color to #c1bd84. By these I got the golden stroke.
In duplicate copy layer set the Layer Style like below:
To the stroke transform the Size to 14, from Blend Mode at Soft Light, Fill Type at Gradient, and Angle at 45, also Scale at 150. Select Grey Fan F10 – angled gradient which you can find-out in the DIALS.grd file to gradients pack.
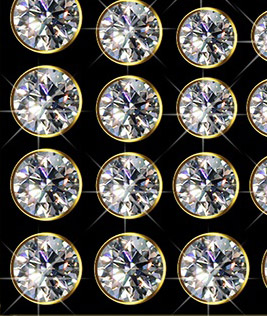
By the following settings we will show the sparkles in different sizes.
 Under the Gradient Map adjustment layer take a new layer. Rename it at “Sparkles”. Over the diamond start clicking to add sparkles by set foreground color at “#ebebeb”. Just as you want here and there.
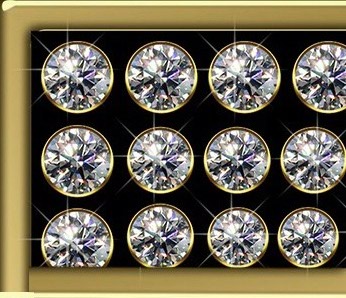
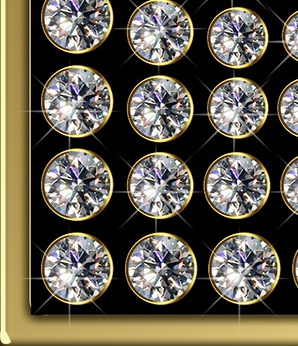
Now add the Diamond in a frame like me. And add a border in around the diamond.
The figure are given below.