How to Insert an Image in Photoshop

Are you new to Photoshop and wondering how to add an image to your project? Or perhaps you’ve been using Photoshop for a while but haven’t mastered the art of inserting images. Look no further! In this tutorial, we’ll guide you through the process of inserting an image in Photoshop.
Preparing to Insert an Image
Before we dive into the steps for adding an image in Photoshop, there are a few things you need to do to prepare:
- Choose an Image: Choose the image you want to insert into your project. Make sure it’s in a compatible image format, such as JPEG, PNG, or GIF.
- Determine the Appropriate Image Size: Decide on the size you want your image to be in your project. This will help you determine the resolution and aspect ratio you need.
- Save the Image in a Compatible Format: Save your chosen image in an appropriate format, so it’s ready to be inserted into your Photoshop project.
You may also read– How to Add Fonts in Photoshop.
Inserting an Image in Photoshop
Now that you’ve prepared your image, it’s time to insert it into your project. Here are the steps you need to follow:
1. Create a New Photoshop Document:

Open Photoshop and create a new document by selecting “File” > “New”. Choose the appropriate size and resolution for your project.
2. Open the Image to Be Inserted:
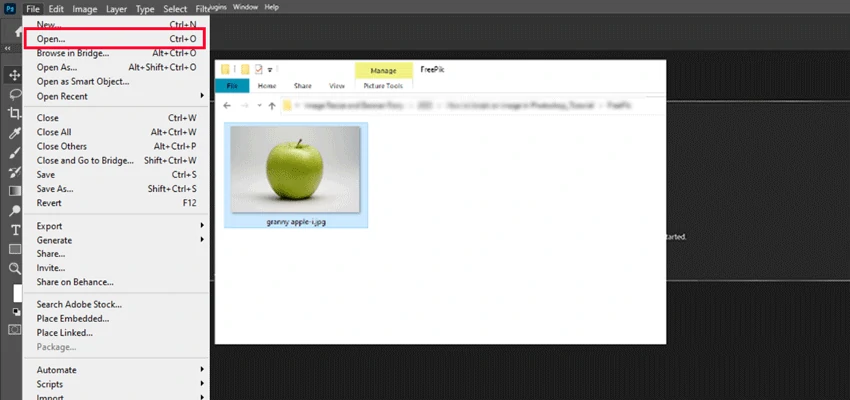
Open the image you want to insert by selecting “File” > “Open”.
3. Copy and Paste the Image into the Photoshop Document:
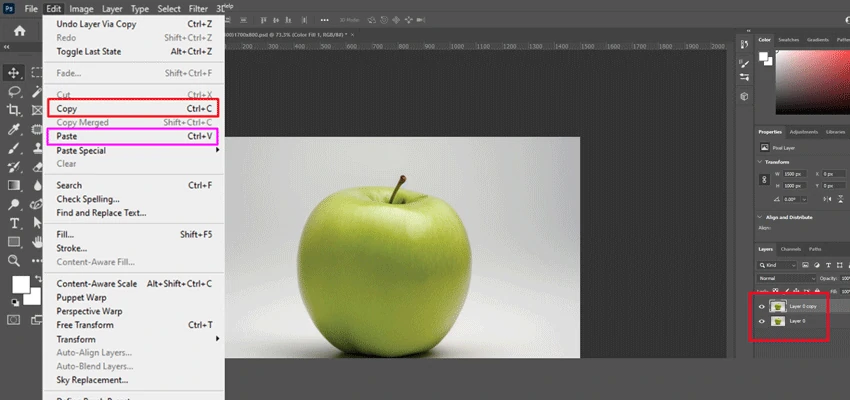
Select the image and copy it by pressing “Ctrl + C” (Windows) or “Command + C” (Mac). Go back to your Photoshop document and paste the image by pressing “Ctrl + V” (Windows) or “Command + V” (Mac).
4. Use the Place Command to Insert the Image:

Another way to insert an image is to use the “Place” command. Go to “File” > “Place”, and select the image you want to insert. Click “Place” to insert the image into your project.
5. Adjust the Size and Position of the Image:
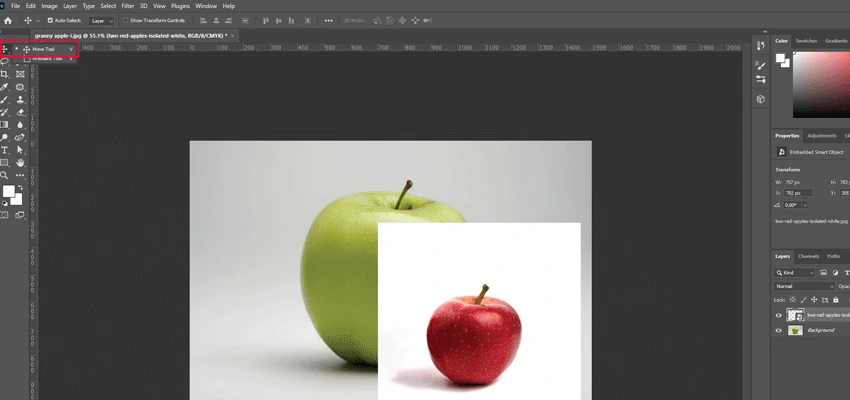
Resize and reposition your image by selecting the “Move” tool and dragging the image to the desired position. To resize the image, hold down the “Shift” key while dragging one of the corners of the image.
Editing the Inserted Image
Now that you’ve inserted your image, it’s time to edit it to fit your project’s needs. Here are a few editing options you can explore:
1. Using the Layers Panel to Edit the Image:

Make sure the image layer is selected in the Layers panel to access editing options. You can adjust the opacity, blending mode, and layer style of the image.
2. Adjusting the Image’s Color and Brightness:

Click on “Image” > “Adjustments” to access color and brightness editing options. You can adjust the levels, curves, and saturation of the image.
3. Adding Effects to the Image:

Explore the “Filter” menu to add effects to your image. Try options like “Blur“, “Sharpen“, and “Distort” to create interesting effects.
4. Using Layer Masks to Selectively Edit Parts of the Image:
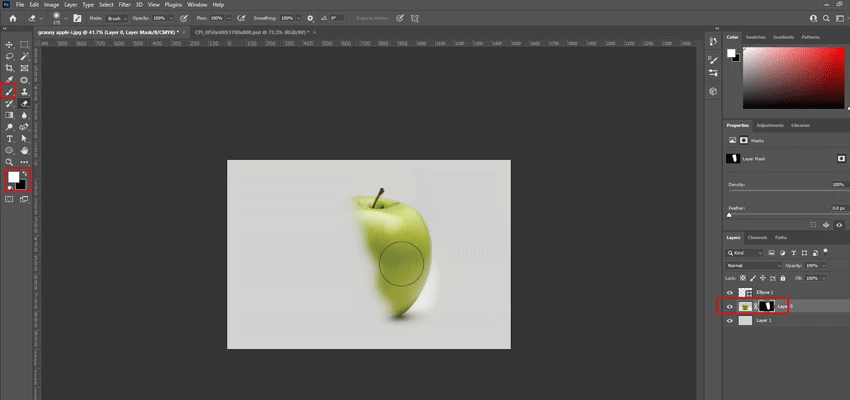
Add a layer mask to your image layer to selectively edit parts of the image. Use the brush tool to paint black on the layer mask to hide parts of the image, or white to reveal parts of the image.
You may also read– How to Blur Edges in Photoshop.
Saving the Final Image
Once you’re done editing your image, it’s time to save it in a compatible format. Here’s what you need to do:
1. Save the Photoshop Project File:
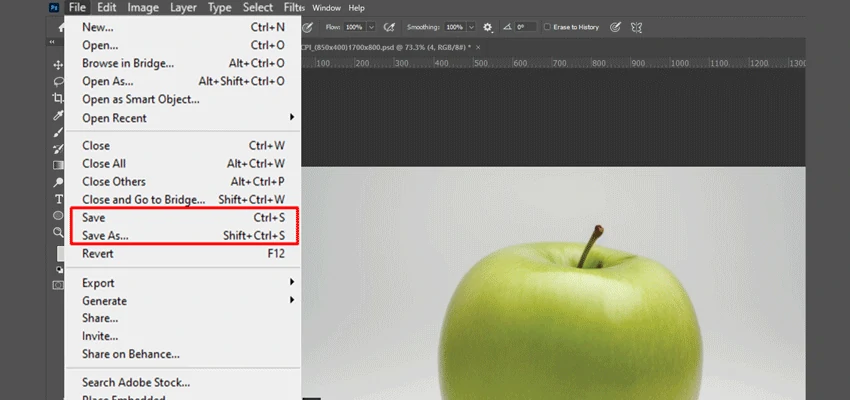
Save your Photoshop project file by selecting “File” > “Save As” and choose a name and location for the file. This will allow you to come back and edit the file later if needed.
2. Exporting the Image in a Compatible Format:

To export the final image, select “File” > “Export” > “Export As”. Choose the appropriate format, such as JPEG or PNG, and adjust the quality and resolution settings as needed.
3. Determining the Appropriate Resolution and Image Quality:

When exporting your image, consider the final use of the image. For example, if you’re uploading the image to a website, you may want to choose a lower resolution and smaller file size to optimize the image for web use.
To Conclude
In conclusion, inserting an image in Photoshop is a straightforward process that can elevate your projects to the next level. By following these simple steps, you can easily add an image in Photoshop with ease and edit them to fit your needs. Remember to experiment with different editing options and have fun with the process.
Happy Photoshopping!