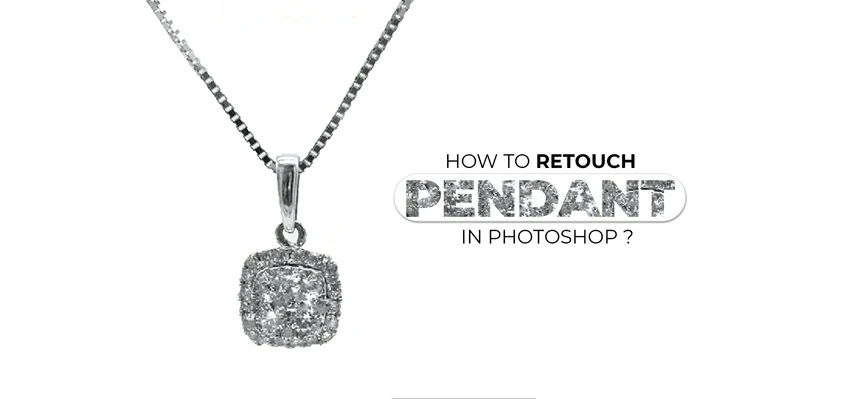
How to Retouch Pendant Photography in Photoshop
Are you a jewelry photographer having a huge collection of pendant photography that needs to be retouched? Well, you are in the right tutorial then. Even if you have a few pieces of raw personal pendant photos, this tutorial can help you to touch up them.
Pendant singly or in a necklace is a kind of jewelry that requires an extra bit of attention while photography. It contains many small details that photographers need to focus on. As photography is a human handiwork, there will be certain areas that won’t achieve the desired output.
That means pendant photography won’t be 100% satisfactory. What’s next then? Should you use or post the pendant photography as it appears? Definitely, not! Here comes the pendant photo retouching. With pendant or necklace photo retouching, you can remove the photography flaws or fill up the shortcoming in photography.
Suggested Article: Top Jewelry Brands and sellers.
How to Retouch Pendant Photography in Photoshop
So, we have decided to prepare this tutorial. In this tutorial, we will walk you through the method of retouching pendant or necklace photography.
Let’s get cracking….
Step 1: Open your Raw Pendant Image:
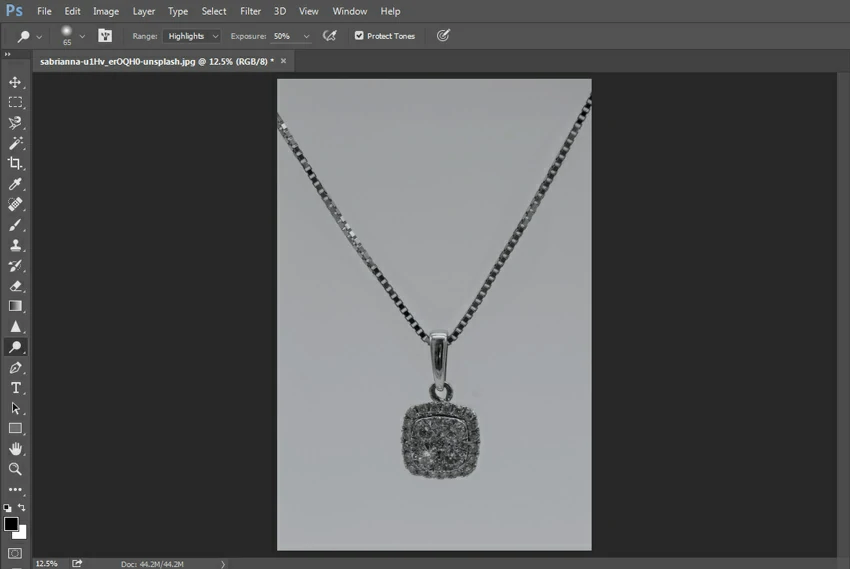
First off, open your Photoshop window to drag and drop your raw and unedited pendant image. We have picked a necklace photo with a pendant hanging on it.
Step 2: Click the Magic Wand Tool:

Now, unlock the background layer by double clicking on the layer so that you can work on it. You can rename the layer as you wish. Next, click the magic wand tool to select the subject. You can choose other tools like pen tool or quick selection tool as well for the selection.
Step 3: Make Selection with the Magic Wand Tool:
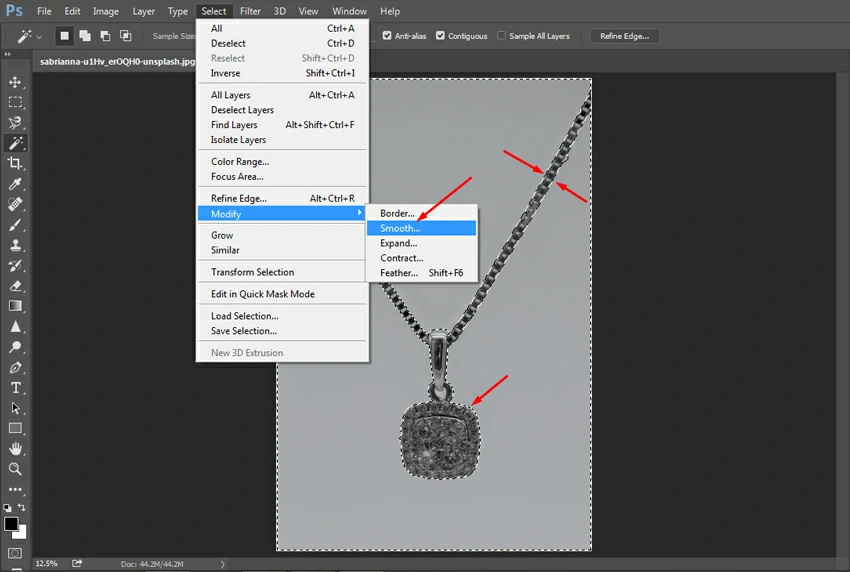
At this point, make selection with the Magic Wand tool as we have chosen this tool. Once the subject is selected, you can smooth the selection by moving to the “Select” tab and selecting “Smooth” from the item “Modify”.
Step 4: Remove the Background:

After you are done with all the necessary adjustments, hit Ctrl+X to remove the background. And the background will disappear instantly.
Step 5: Create a New Layer and Set the Background Color:

Now, go ahead and create a new layer by clicking the “Create a New Layer” icon at the bottom of the layer panel. Make sure your original layer is on top of the new layer. Set the background layer white on the new layer and finally apply it hitting Ctrl+Delete.
Step 6: Refine the Edges:

Now, select the original layer again notice if there are edges on the necklace that need to be refined. If visible, select the edges and remove them to refine the necklace.
Step 7: Apply Spot Healing Brush Tool:

At this point, you can start pendant photo retouching making use of different retouching tools. First up, select the Spot Healing Brush tool and tap it on the necessary parts of the pendant.
Step 8: Apply Sharpen Tool:

Moving on, select the Sharpen tool and tap like before on the pendant where necessary to sharpen different parts of the pendant.
Step 9: Apply Dodge Tool:

Next, select the Dodge tool and tap on the pendant that will improve the pendant’s glow.

Increase the glow to a level that seems eye-catching and realistic at the same time.
Step 10: Adjust the Exposure:

Exposure adjustment is essential when it comes to jewelry image retouching. So, move the exposure slider until your image looks perfect with the exposure.
Step 11: Adjust the Brightness:

Brightness has a lot to do with jewelry photo retouching, so adjust it properly to bring out the best look of your pendant photo.
Step 12: Final Output:
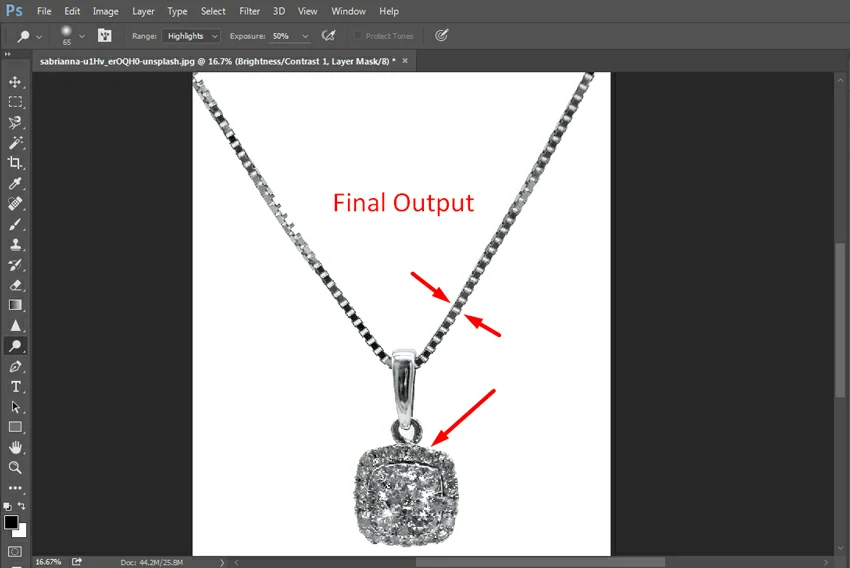
Here comes the final look of the pendant image after holistic retouching. Take a look at the final output below-
Winding Up
That’s all we had to teach you in this exciting tutorial of how to retouch pendant photography in Photoshop. Hopefully, you enjoyed the tutorial immensely. We believe from now on, you can retouch pendant photography in your upcoming project.
To get more of such exciting tutorials, stay with us and follow our blog regularly!