How to Send Files to a Photo Editing Service (The Right Way)
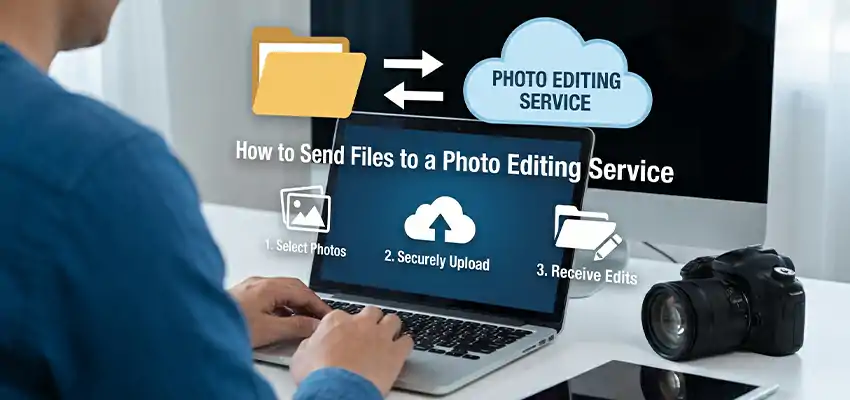
Most people spend weeks finding a good photo editing service and about three minutes actually sending the files. Then they wonder why the first round of edits comes back wrong.
The way you send files matters. A lot. Editors work with what you give them. If you send the wrong format, skip the folder organization, or write a vague two-sentence brief, you are making the editor’s job harder and your results worse.
This is not complicated stuff. You just need to know what to do before you hit share.
Check What the Editing Service Actually Wants
Start here. Before you touch a single file, go to the editing service’s website and look for upload guidelines. Most professional services have them. They will tell you which file types they accept, how they want folders structured, whether they have their own upload portal, and sometimes even how they want you to flag specific images.
A lot of clients skip this and just dump files into a Google Drive folder. Then the editor has to come back and ask clarifying questions. That adds days to your turnaround before anyone has even started editing.
If the site lacks upload instructions, just email them. Ask what format they prefer, how they want files sent, and if they need anything from you upfront. It takes five minutes and saves a lot of back-and-forth later.
Pick the Right File Format
This is the part most people get wrong, and it has a bigger impact than anything else on this list.
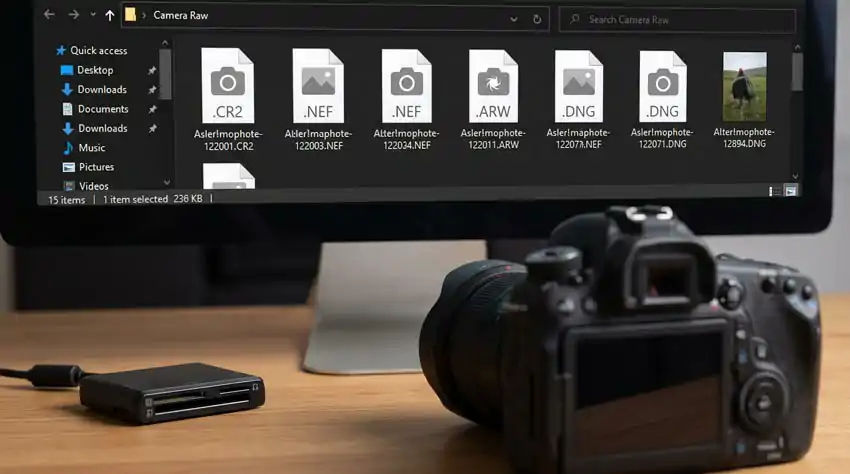
Send RAW if you can. RAW files are straight from your camera sensor, unprocessed and uncompressed. They hold way more data than a JPEG. That extra data is what lets an editor fix a blown highlight, bring back shadow detail, or shift colors without the image falling apart. If you are getting professional retouching, color grading, or any kind of serious editing work done, RAW is almost always the right call.
Yes, the files are big. A single RAW from a full-frame camera can be anywhere from 25 to 80 MB depending on the body. A batch of 300 photos can easily be 15 GB or more. You cannot email them. But that is what proper transfer tools are for, which we will get to in a minute.
TIFF is a solid backup option. For polished, high-quality files, use TIFF after initial processing in Lightroom or Capture One. TIFF is lossless, preserving all data, making it preferred by Photoshop editors over unfamiliar RAW files. However, TIFFs can be larger than RAW files due to full color data storage.
JPEG is fine for light work. JPEGs work well for simple edits like color correction and resizing. However, they lose data with each save, so they aren’t ideal for heavy retouching. When sending JPEGs, export at maximum quality (100%) and use the sRGB color profile unless noted otherwise.
Think of it this way: the more complex the editing job, the higher quality format you should send.
Organize Before You Upload
This step costs you maybe ten minutes. It saves the editor significant confusion and it often saves you money because the turnaround is smoother.
Put files in clearly labeled folders. When sending a wedding gallery, break it into sections: Ceremony, Portraits, Reception, and Getting Ready. For product photos, organize them by product name or SKU. A clear folder structure helps the editor understand the context. This context leads to better editing choices.
Separate your selects from your full shoot. If you shoot 600 frames and only want 200 edited, put those 200 in a folder called something obvious like “For Edit” or “Selects.” Do not ask the editor to pick for you. Culling is your job. Editing is theirs.
Rename files if the job is complex. File names like “groom-portrait-01.CR3” are helpful. In contrast, “IMG_3042.CR3” tells you nothing. You don’t need to rename every file, but for key images, it’s smart to flag them. You can do this in the file name or with a simple text document in the folder. It requires very little effort.
Use a Proper Transfer Method
Email is out. Most providers cap attachments at 10 to 25 MB. A single RAW file is already over that. Even a small batch of JPEGs becomes unreliable over email.
Here is what actually works:
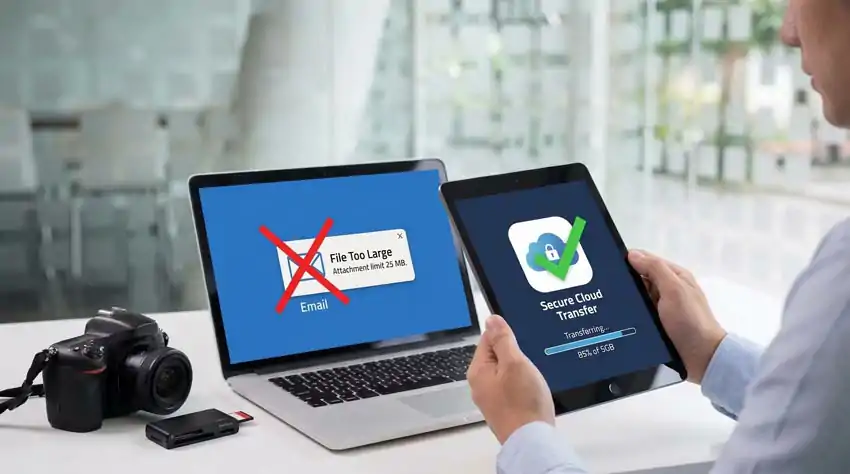
Google Drive is probably the most common method. You get 15 GB free, and sharing folders is easy. Ensure your settings allow recipients to view and download; “view only” access can block editors.
Dropbox works well for ongoing relationships with an editing service. It is slightly better than Drive for large file handling and the sync reliability is solid. The free plan is limited (2 GB), so for bigger batches you will likely need a paid plan or to share individual folders rather than syncing your whole account.
WeTransfer is good for one-off transfers. No account is needed to send files up to 2 GB on the free plan, available for 7 days. WeTransfer Pro allows 200 GB and longer link life for larger batches.
MASV is worth knowing if you regularly send multi-gigabyte galleries. Built for large creative file transfers, it supports files up to 15 TB and provides quicker upload speeds than Drive or Dropbox. While it comes with a cost, it’s a more dependable option for photographers than free alternatives.
Most people doing occasional work with an editing service will be fine with Google Drive or WeTransfer. If you are shooting volume, look at Dropbox Business or MASV.
Write a Brief That Actually Explains What You Want
This is probably the most skipped step, and it directly causes most of the “this is not what I wanted” conversations that happen after the first delivery.
You do not need to write an essay. You need to answer four things:
What editing style are you going for? Bright and airy, dark and moody, cinematic, neutral and true-to-life? Words are vague. Attach a reference photo. One good reference image tells the editor more than three paragraphs of description. If you have a Lightroom preset or a sample of your edited work that represents the look you want, include it.
What specific edits do you need? List them. Skin retouching, background removal, color grading, exposure fixes, object removal, whatever. Do not assume the editor will figure it out from context. Write it down.
Are there any images that need extra attention? If a handful of photos from your batch need something beyond the standard edit, flag them by file name. “Files 047, 112, and 203 need background replaced” takes you thirty seconds to write and prevents the editor from spending time guessing.
What is your deadline? Most services have a standard turnaround, but if you are working against a client delivery date, say so when you send the files. Do not drop this information two days before the deadline and expect miracles.
A brief can be a plain text document inside the folder, a short email with your transfer link, or a filled-in intake form if the service provides one. It does not matter what format it takes, just that it exists.
Check Before You Actually Send
Before you share the link or hit send, spend two minutes going through this:
- Are the files in the right format for the job?
- Are your selects in a separate folder or clearly labeled?
- Can the editor actually download from your shared link? (Test it yourself in a private browser if you want to be sure.)
- Is your brief included with the transfer?
- Have you noted the deadline and any special instructions?
- Is your contact information somewhere in the brief in case they have a quick question?
Things That Catch People Off Guard
Re-saving a JPEG before sending destroys quality. Editing and re-saving a JPEG loses data. Always export fresh copies from your original file instead of re-saving old ones.
Color profiles matter. If you shoot or edit in Adobe RGB but the service delivers files in sRGB without knowing your preference, the colors will look different from what either of you expected. Mention your color profile in the brief. It is a small detail that prevents big surprises.
Sending the full shoot when you only need a fraction edited costs you real money. Cull before you upload. If you want 150 photos edited from a 700-photo shoot, the editor should only see those 150.
Back up your originals before transferring anything. Upload failures happen. Links expire. Files occasionally get corrupted. Keep your source files on a local drive before you hand anything over to any third-party platform.
Put It Together
The photographers and business owners who get great work back from editing services are not necessarily working with better editors. They are just better prepared when they show up.
Clean files in the right format. Folders that make sense. A brief that explains the look and the specifics. A transfer link that actually works and is set to the right permissions. A deadline communicated before it is urgent.
Do those things, and the editing service can focus on the editing. They won’t have to guess what you meant or chase you for missing information. This leads to better results and faster turnarounds. That’s the whole point.