How to Shoot Product Photos on a Smartphone So They Edit Cleanly

Stop wasting hours fixing bad shots in post. Get it right in-camera, every single time.
Most people struggle with editing because they didn’t take the photo correctly. A photo that edits well is one that was shot well. You don’t need an expensive camera to do it.
The market for global eCommerce product photography is on a steep upward curve. Businesses that invest in high-quality visuals report up to a 27% jump in conversion rates. That’s not a small number. That’s real revenue sitting on the table, waiting for you to pick it up with nothing more than the phone in your pocket.
This guide is going to show you exactly how to shoot product photos on your smartphone so that your editing workflow becomes fast, painless, and consistent. Let’s get into it. growth projected by 2034, the visual economy is exploding
Why “Editing It Later” Is Killing Your Workflow
Fix problems when you take the picture, not later. Bad lighting and high ISO cause issues that are hard to fix. A steady hand helps. Shoot cleanly to make editing easier.
The good news? Modern smartphones, like the iPhone 15 Pro, Samsung Galaxy S24, and Google Pixel 8, take photos that can match entry-level DSLRs. Just stop shooting like a tourist and start shooting like a product photographer. Here’s how.
Step 1: Set Up Your Background the Right Way
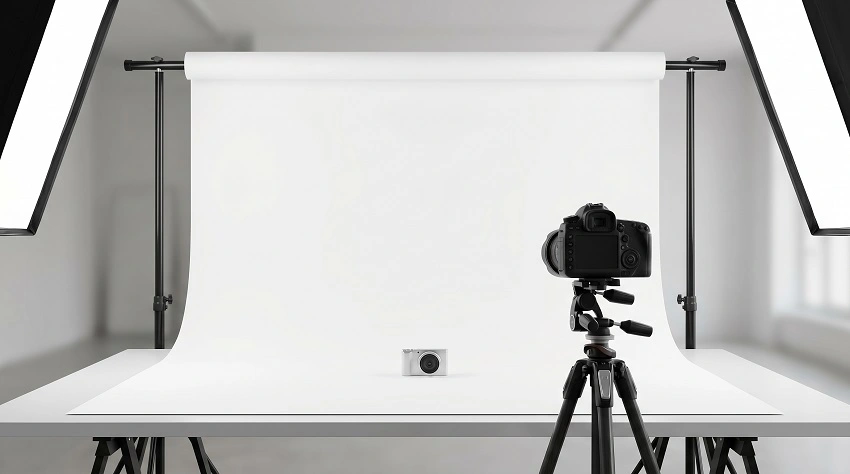
Your background is the single biggest factor in how long your editing will take. Get this wrong and you’re spending 20 minutes on every image. Get it right and background cleanup takes 30 seconds, or nothing at all.
The cleanest option for most product categories is white seamless paper. It creates a professional look, makes products pop, and lets you easily remove or enhance the background in any editing app. Sweep a large sheet from a wall down to your shooting surface in a gentle curve with no harsh edges, no corner shadows.
To achieve a pure white background in-camera and cut down on post-production, adjust your light source. Position it to hit the background one to two stops brighter than the light on your product. This will wash out the background to white without overexposing your product. No Photoshop needed.
Beyond white, consider these options based on your brand:
- Colored foam board or cardstock — affordable, portable, and available in every color for on-brand lifestyle vibes.
- Textured surfaces (wood, marble, slate) — great for food, cosmetics, and artisan goods. Just keep textures subtle so they don’t compete with your product.
- Lightbox or collapsible studio tent — under $40 online and it diffuses light automatically. A solid investment if you’re shooting regularly.
Step 2: Nail Your Lighting Before Anything Else
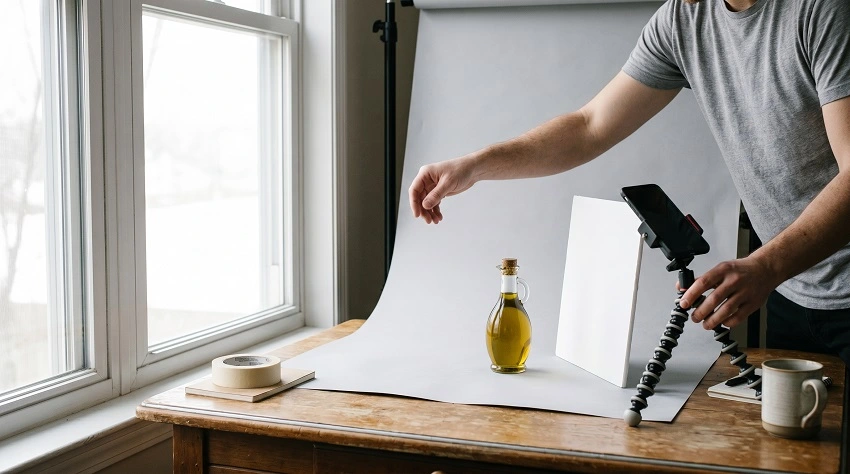
If there’s one rule to remember, it’s this: great light is more important than great gear every time. You can take amazing, editable product photos with a three-year-old phone if the lighting is good. Here’s what the pros know that most people don’t.
Natural Light: Your Best Free Tool
Use natural light from a big window on a cloudy day. Clouds scatter the light, reducing harsh shadows. Place your product near the window, but at an angle, to create a side-lit look with depth and detail.
North-facing windows are perfect. They provide steady light all day without harsh sun blowing out your highlights. Direct sunlight can be a trap. It creates hot spots and hard shadows, which are tough to fix in editing.
Bounce Cards: The $3 Game Changer
Place a piece of white foam board on the opposite side of your product from the light source. It bounces light into the shadows, softening them without adding harsh light. Professionals use it to achieve better results.
Artificial Light: When and How
Use LED continuous lights with softboxes when natural light isn’t available. Choose lights with a 5500K color temperature. Position two lights at 45-degree angles on either side of your product for even illumination.
Never mix light sources. A window on one side and a warm lamp on the other is a recipe for a horrible color cast that no amount of white balance correction can fully fix. Pick one source and commit to it for the entire session.
Step 3: Lock Your Camera Settings in Pro Mode
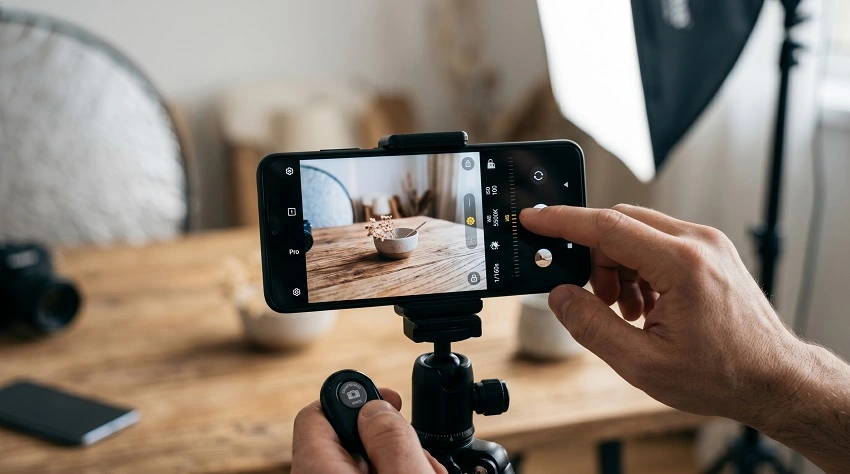
Auto mode is for casual photos, not product photography. Switch to Pro Mode to take control. This setting helps you create clean, editable files.
1.ISO — Keep It as Low as Possible
ISO controls light sensitivity. Higher ISO adds brightness but also digital grain. Set ISO to 100 or the base setting. Add more light if the image is dark instead of increasing ISO.
2.White Balance — Set It Manually and Lock It
Auto white balance changes between shots. This makes your product look different in each image. Set your white balance manually to match your light source: use 5500K for daylight or 3200K for indoor bulbs. Lock it for the session.
3.Shutter Speed — Stable and Sharp
For product photography on a tripod, use a fast shutter speed for a clear image. Use your phone’s self-timer or a Bluetooth remote to trigger the shutter. This helps avoid micro-blur from touching the phone.
4.Focus — Lock AE/AF on the Product
To lock focus and exposure, tap and hold on your product in the camera app. For smaller products, using the telephoto lens can help reduce distortion and show the product more accurately.
Step 4: Always Shoot in RAW — No Exceptions
Shoot RAW because it captures everything your sensor sees. JPEG files are compressed and have been adjusted by your phone’s software, making it harder to make changes.
“RAW files let you fix dark shadows and bright highlights. You can make big color changes and correct colors, which JPEG can’t do.”
Many flagship phones allow RAW capture in Pro Mode or with apps like Adobe Lightroom Camera. Editing RAW files in Lightroom Mobile gives you complete control and maintains image quality.
Step 5: Use a Tripod — Every Single Time
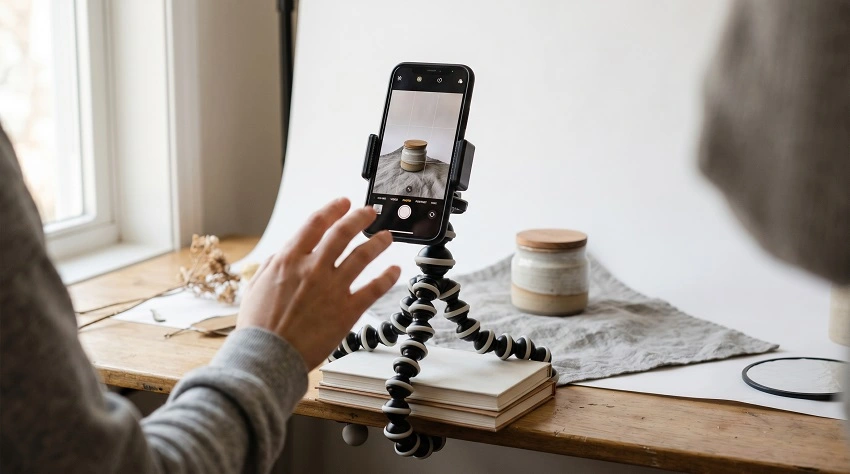
A tripod is not optional. Handheld product photography causes three problems: camera shake, inconsistent framing, and high ISO. A tripod solves these problems.
A $25 flexible tripod with a phone mount is enough. It helps you shoot 50 consistent frames without touching the setup, making catalog-level consistency possible at home.
Use your phone’s self-timer to avoid camera shake. This helps because pressing the shutter button can cause vibration.
Step 6: Prep Your Product Like a Pro
The camera shows everything, including fingerprints, dust, and scratches, making them more visible than in real life. Before every single shoot, run through this checklist:
- Clean the product with a microfiber cloth, fingerprints on glass and plastic surfaces are guaranteed to appear in your shots.
- Use compressed air to remove dust from crevices, especially on textured or dark products where dust shows as white specks.
- For clothing and fabric products, iron or steam them until they look completely fresh. Wrinkles in fabric are one of the most time-consuming things to fix in post.
- Remove all price tags, stickers, and packaging materials unless they’re intentionally part of the story.
- Clean your phone lens before every session, a smudged lens creates a soft haze across the entire image that reduces editing flexibility.
Step 7: Edit for Consistency, Not Perfection
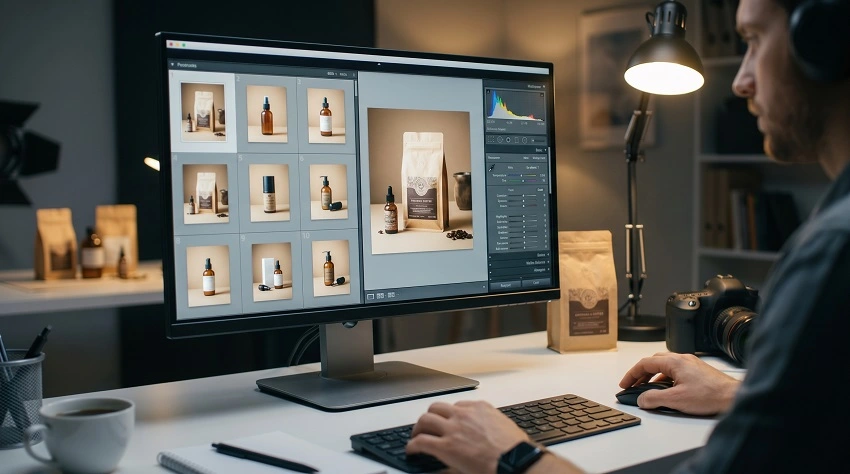
Here’s where your clean shooting setup pays off. If you’ve followed the steps above, low ISO, locked white balance, RAW format, controlled lighting, your editing session should be fast, systematic, and almost mechanical. That’s exactly what you want, especially if you’re editing a catalog of products.
The workflow is simple: exposure → white balance correction → highlights/shadows → contrast → sharpness → done. No dramatic filters. No heavy saturation. The goal is to make your product look exactly like it does in real life, just better lit.
| Adobe Lightroom Mobile (Premium) | Snapseed (Free) | Darkroom (Premium) |
| The industry standard for RAW editing on mobile. Advanced color grading, batch presets, cloud sync across devices. Create one preset from your first well-edited image and apply it to every photo in the session with one tap. | Google’s powerhouse editing app. The Selective tool lets you adjust brightness or color in a specific area without touching the rest — perfect for lifting a shadow on one side of a product. Non-destructive editing means you can undo anything. | Best for batch editing and speed. Supports RAW, HEIC, and ProRAW. Integrates natively with Apple Photos for a seamless workflow. If you’re shooting catalogs of multiple SKUs, Darkroom cuts your editing time dramatically. |
One feature that most people overlook: save your edits as a preset after finishing your first well-edited photo. Apply that preset to every other photo from the same session.
“Editing should enhance the quality of your product photography, not mislead your customers. The goal is to make your product images look clean, vibrant, and professional while staying true to the actual item.”
The Common Mistakes Killing Your Edit Time
Let’s get real about the habits that lead to hours of photo editing for images that should only take ten minutes.
- Shooting in Auto mode with AWB on makes each frame look different, making batch editing hard.
- Mixing light sources — a window on one side and a desk lamp on the other, creates color casts that one white balance fix can’t solve.
- Shooting JPEG instead of RAW means you lose editing flexibility before you start.
- Using a wide-angle lens up close distorts the product’s proportions, and correcting this later reduces quality.
- Over-editing with heavy filters and saturation misleads customers, raises returns, and makes your brand look unprofessional.
- Skipping product prep — dust and fingerprints spotted during cleanup take seconds; in post, they take minutes per photo.
SEO Optimization: Making Your Photos Work for Search
Getting the shot right is half the job. The other half is making sure those images work for you in search. Google cannot see your photos but it reads everything around them. Before you publish any product image, run through this quick checklist:
- File naming — rename your images descriptively before uploading. “mens-brown-leather-wallet-front-view.jpg” outperforms “IMG_4892.jpg” in image search every time.
- Alt text — write alt text that describes the image naturally and includes your primary keyword. “Front view of brown leather bifold wallet on white background” is perfect.
- File size compression — use tools like TinyPNG or convert to WebP format. Page speed is a ranking factor, and large images are one of the biggest speed killers on product pages.
- Consistent aspect ratios — most marketplaces (Amazon, Shopify, Etsy) have specific image ratio requirements. Shoot to match them so you’re not cropping valuable product space away after the fact.
Frequently Asked Questions
Can a smartphone really take professional product photos?
Sure. Modern flagship phones like the iPhone, Samsung Galaxy S-series, and Google Pixel can take photos that compete with entry-level DSLRs for e-commerce.
What format should I use for product photos on my phone?
Always shoot in RAW when you can. RAW files keep all the data from your sensor. Convert them to JPEG or WebP for publishing, since browsers can’t display RAW files.
What’s the best lighting setup for smartphone product photography?
Natural diffused light from a large north-facing window on an overcast day is ideal. It’s soft, even, and free. For consistent artificial light, use LED continuous lights (5500K) with softboxes.
How do I get a clean white background for product photos?
Use white seamless paper or foam board. Light the background 1–2 stops brighter than the product. This gives a clean white background in-camera and cuts down on editing time later.
What are the best apps for editing smartphone product photos?
Adobe Lightroom Mobile delivers the most powerful editing experience, with full RAW support, preset creation, and batch editing. Snapseed by Google excels at quick selective adjustments and is free. Darkroom stands out as the top choice for batch workflows on iOS.
The Bottom Line
Every photographer knows the frustration of trying to fix a bad shot. Pros start their editing workflow before picking up the camera.
Set up a clean background and control your light. Lock your white balance and shoot RAW. Stabilize your phone and prep your product. Doing these steps will make editing faster and your catalog look professional.
Your smartphone is more capable than you think. What’s holding you back from taking professional-quality product photos is the process. Start building your skills today, one great shot at a time.